
About This Site
Daily Musings
News
News Archive
Site Resources
Concept Art
Bungie Weekly Updates
Interviews
Movies
Music
Miscellaneous
Mailbag
HBO PAL
Game Fun
The Halo Story
Tips and Tricks
Fan Creations
Wallpaper
Misc. Art
Fan Fiction
Comics
Logos
Banners
Press Coverage
Halo Reviews
Halo 2 Previews
Press Scans
Community
HBO Forum
Clan HBO Forum
ARG Forum
Links
Admin
Submissions
Uploads
Contact
RSS 2.0
![]()
Tsavo HighwayFull Contact SafariLead The Marines Away From The BaseFinally, some Warthog action. Head through the barracks here and find the two Warthogs. After opening the door leading to the cave beyond, nab the driver's seat in one of the two Warthogs and head out. (One of the Warthogs has a turret in the back for extra firepower, while the other has room for more Marines.)Pick your Hog and leave the caves, and get used to the glorious feeling of running down enemies. You can kill almost anything by running it over, although you need to be going a certain speed to make lethal contact; if you're going too slow the enemy will simply be rubbed along the ground in front of you. 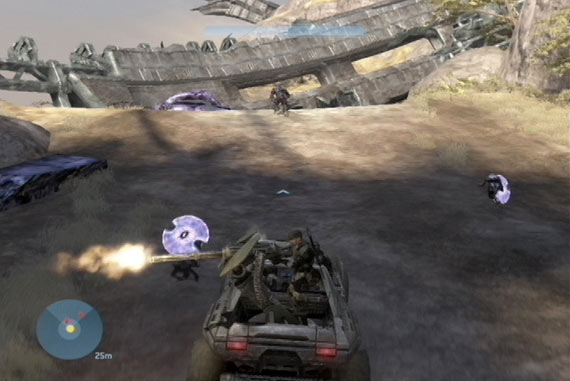 Eventually you'll find a couple of snipers near an in-construction sniping tower. Run them down and pick up one of their beam rifles from the ground, then get back into the Warthog. Head through the first few groups of grunts until you reach a squad near a crashed ship; they'll have three turrets set up to hit you, and the Brute here will have a fuel rod gun that'll make quick work of you if it hits. You can run down the turrets by simply hitting them, so do your best to quickly eliminate the threats. Dam BaseJust beyond the three turrets is a more fortified area, where there are high-powered turrets sitting atop a damn. Before charging in here, park your Warthog on top of the little ridge that leads to the area and hop out. If you sneak forward, some of the enemies will come after you, allowing the turret in your hog to chew them up, but you should sneak forward further and start firing on the emplaced turrets to your right, as well as the snipers on the dam itself. When you've weakened the defenses up a bit, return to the Warthog, hop in, and drive in to the left to avoid the dam and find the path leading behind it. If possible, stop near the dam and exchange your beam rifle for a new one with more ammo.The Battle of Tsavo HighwayMove through the valley beyond the dam to find another group of Covenent fighting against your troops. If you have a beam rifle, you can move the warthog up over the ridge, where it'll fire on any enemies that come near you, then get out and use the beam rifle to shoot out the turrets and snipers on the far side of the area. If you don't have a rifle, then just proceed slowly with the warthog and use a battle rifle to clear out the turret above you before getting close to it. Your Hog turreteer should be able to engage most of the enemies here and destroy them with minimal damage to yourself or the Warthog, but only if you proceed very slowly and let him or her do their job from maximum range.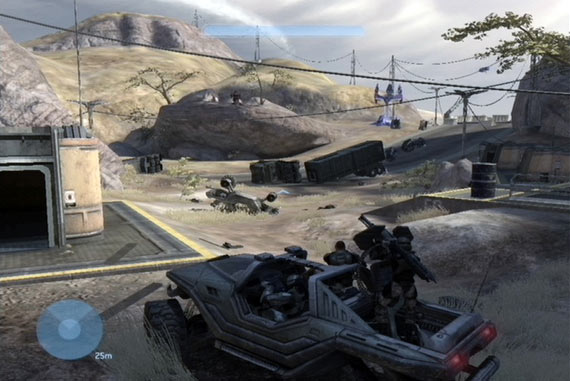 After destroying the turret, and the one near the shielded exit, move up to the shield in the truck until you get the audio warning that Drones are incoming, then back away a bit. The Drones will quickly start flooding out of the tunnel, so let your turret gunner take them out. When that's done, get close to the shield and throw a frag grenade towards the generator; that can destroy it from the opposite side of the shield. Alternately, you can head through the shield and destroy it with weapons. When the shield's down, let the turreteer go crazy on the Brutes inside, then proceed through. The Broken PathGet To The Town Of VoiThe bridge is out up ahead, so jump off and drop down to the grass below. After the chapter changes, head up the ladder nearby and through the tunnel to reach the next major battle. Kill the enemies nearby, then take a right and find the ramp leading up to the walkway above the tunnel you just came through. You'll find a sniper rifle up there; use it to finish off any remaining Brutes in the area before heading down towards the buildings that they were firing at.There are a few more soldiers here, but you're all about to come under a severe amount of attack from the Brutes. There'll be a couple waves of eight Brutes apiece that will arrive via Phantoms, so get ready by reloading your sniper rifle at the back of one of the huts, as well as picking up a fully-loaded battle rifle. The Brute Fight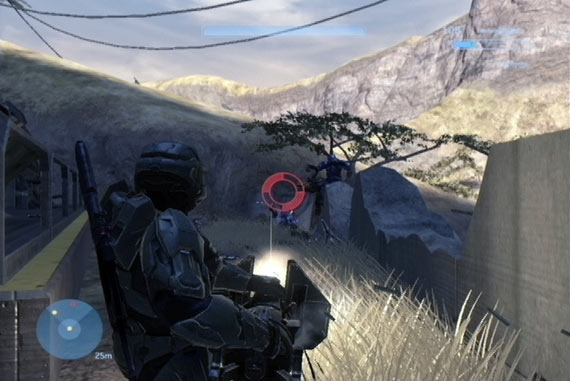 When the Brutes start coming down, stay in the huts until the Phantoms get away; they'll pelt you with turret fire otherwise. For the first wave, try to hit a few of them with the machinegun turret in one of the huts until your shields drop, then detach the turret and use it to kill the rest of the fools. Keep in mind that some of these Brutes will have fuel rod guns, so you'll want to stay behind cover as best you can, darting out only when a target presents itself. Feel free to drop your machinegun at any time to use your grenades and weapons, and keep in mind that there are a few Trip Mines around. You can jump and throw these into the path of the oncoming Brutes, and you should. If one of them goes off any Brute nearby will be killed quickly. When both waves are toast, a Wraith will appear. If you can find a Deployable Cover item, then killing it is simple; stay in the pipes until you reach the road, deploy your cover on top of the Wraith, then run up, press RB to jump onto the vehicle, and click LT to pop a grenade into it. With that done, just run away and wait for it to blow up. If you can't find a Deployable Cover, then you'll have to do the same thing, but just with less protection. It should be doable if you stay inside the pipes, though. Keep in mind that if you shoot out the gunner with a battle rifle, you can actually take over the Wraith by grabbing onto it and tapping the B button to kill the driver. Moving OnWait for the Warthog to drop from the Pelican, then hop aboard, move it forward a bit, and wait for the other Warthog to come down and fill up. You can move forward on foot to snipe out the turrets and snipers in your path, if you like, or just start steamrolling your opponents by running past them as quickly as you can. Alternately, just use your Warthog to move slooowly up the path as your gunner shoots everything.The WraithsWatch out for the Wraiths after you pass through the tunnel here; there are a couple of them, and they combine devastating artillery attacks with a nasty turret gunning attack if you get too close to them. The artillery can be dodged if you keep moving, however.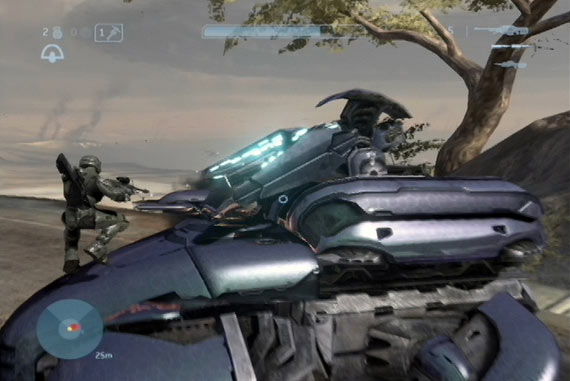 This part of the game is pretty difficult, as moving out of this area is dangerous due to cover fire from a couple of turrets, and there's a roadblock if you attempt to blast past everyone which will slow you up enough for the Wraiths to catch up to you, causing you to be caught between the Brutes at the roadblock and the Wraiths themselves. There are also a ton of Brute Choppers that will be patrolling this area, as well as a couple of hardened turrets that watch over the ramp that leads on (it's on the far side of the hill as you come down the smashed bridge). Your best bet here is to charge up the front side of the hill by getting out of whatever vehicle you're in and jumping up it on foot. There's a single Wraith up here that awaits your attention, so quickly shoot out the gunner with a battle rifle and then hop aboard to kill the driver with the B button before climbing in. If you can get into the Wraith unharmed, take stock of your surroundings; is a turret shooting you? Are more Wraiths climbing the ramp? (You'll have to take out three of them in total.) What you need to do now is start firing away at the opponents down the ramp while strafing along the bridge a bit to get out of range of the turrets. If you can do that, then you can fire away at the Wraiths until both of the remaining two are dead. That will pretty much ensure your safety, since the Choppers don't seem to follow you onto the bridge. This is all a best-case scenario, of course; you'll die quite a few times here before you manage to break through. If worst comes to worst, try to jack a Chopper and use that to weaken up the turrets before moving up, or try to stay on foot and see if your fortunes improve when you fire on the vehicles from the hills. Still, you won't make it far without dealing with the Wraiths, so try to take them out. 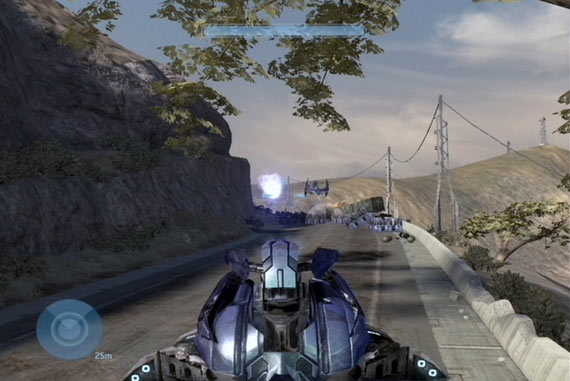 Whether you take over a Wraith or not, you'll have to defeat the Brutes at the nearby barricade before you can move on. If you have a Wraith, this simply entails blasting the roadblock from a distance while the Brutes jump around and shake their fists at you, unable to counterattack. Otherwise, you'll have to proceed the hard way, get close, and take them out one by one. That'll be difficult, as there are quite a few of them, but doable if your checkpoint is close enough to the barricade itself. When you get past the barricade, approach the tunnel and kill the remaining Brutes, and you'll end the mission. |