
About This Site
Daily Musings
News
News Archive
Site Resources
Concept Art
Bungie Weekly Updates
Interviews
Movies
Music
Miscellaneous
Mailbag
HBO PAL
Game Fun
The Halo Story
Tips and Tricks
Fan Creations
Wallpaper
Misc. Art
Fan Fiction
Comics
Logos
Banners
Press Coverage
Halo Reviews
Halo 2 Previews
Press Scans
Community
HBO Forum
Clan HBO Forum
ARG Forum
Links
Admin
Submissions
Uploads
Contact
RSS 2.0
![]()
The StormGhost TownDestroy First Anti-Air WraithAfter you ride the Warthog to the end of the line, get off and open the doorway leading on. The Warthog's driver will follow you automatially, so there's no need to drive it yourself unless you like to micromanage. Proceed through the tunnel here, unlocking doors as you do so, until you reach the last hallway and head outside.When you reach the last door, you'll spot a couple of Ghosts. Open the door and hop into one, then head outside, taking a left to remain on the docks. When you're ready to head down, find a ramp and pop down to the bottom of the area here. There'll be general chaos, as there's an anti-air Wraith here, as well as an artillery Wraith that overlooks the position, and plenty of enemy Ghosts. Try to eliminate as many of the Ghosts as you can, then fire away at the anti-air Wraith until it pops. 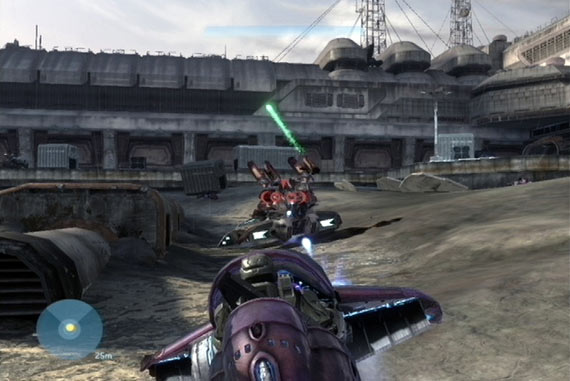 This section can be superbly annoying, especially if the Wraith stays alive and shells you. If this occurs, you may want to head along the docks until you can reach the building that's been built on them. Atop it is a heavy weapon, the Missile Pod. It'll let you lock onto and fire homing missiles at the two Wraiths here. It might be best to use it on the artillery Wraith, which will be a huge annoyance if you keep it alive. There's also a sniper rifle here, which can be used to kill the gunners in either of the Wraiths. Destroy All Other WraithsThe artillery Wraith in the corner guards the doorway moving on. If you can manage it, grab a Warthog and take it with a gunner into the room beyond, then let it fire away at the enemies up the stairs. When the coast has cleared, the doorway will open, allowing you to move on. Note that the weapons locker here has rocket launchers, if you care to obtain one.Unfortunately, a huge swarm of Drones will descend from the skies here and harrass you. They'll probably make quick work of your teammates, but there'll also probably be too many for you to take out yourself. If you wish to do so, you can simply wait them out; they'll probably despawn in a few minutes. If not, dash out across the area below you to reach the exit to your right. It's boxed up, but you can move through that way and hopefully avoid upsetting the Drones. 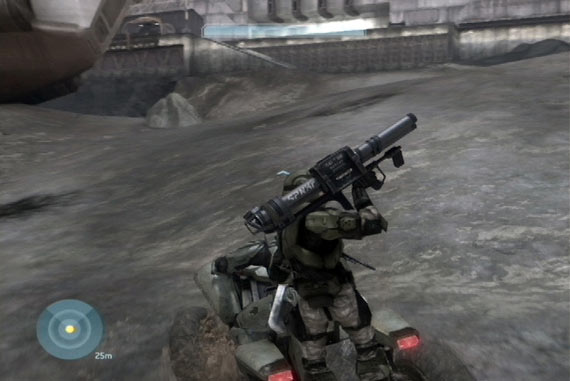 When you reach the end of the hall, a squad of Mongooses will be waiting for you. Hop into the driver's seat of the free one, then head out to the next set of docks, where the last couple of Wraiths will be waiting. There'll be plenty of Ghosts here, too, but don't worry; you've got plenty of rocket-wielding soldiers in your squad, so just keep moving and dodging fire, and eventually everything will die. JudgementKill The Scarab TankWhen you're done with the Ghosts and Wraiths, you'll get a message saying that something big is heading your way. That's your cue to drive towards the friendly turrets on the large wall here. A Scarab will appear momentarily, so find your way to the base of either of the two cranes, then activate the elevator in the middle of the base to ride up to the top. That'll put you into a position where you can fire onto the enemies on the bow of the Scarab (that rocket launcher comes in handy about now) and also jump onto the Scarab when it's below you.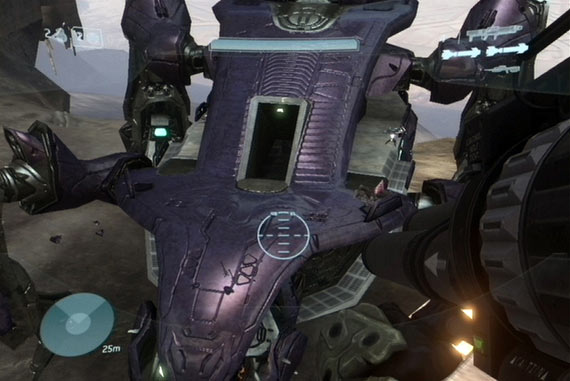 When you're on the Scarab itself, clear out any remaining enemies in your immediate area, then move around to the back where a Brute chieftan is stationed; he guards the power core. Take him and his buddy out, then shoot the core until you get the "Run away!" message. Note that if you head down the ramp here, you can completely miss the core; it's on the same level as the turrets on the side of the ship. Neutralize The Anti-Air Cannon!With the Scarab out of the way, you can move on. Proceed back to the turrets, where the Arbiter is waiting for you. Start making your way through the corridors leading to the warehouse, where more Brutes await.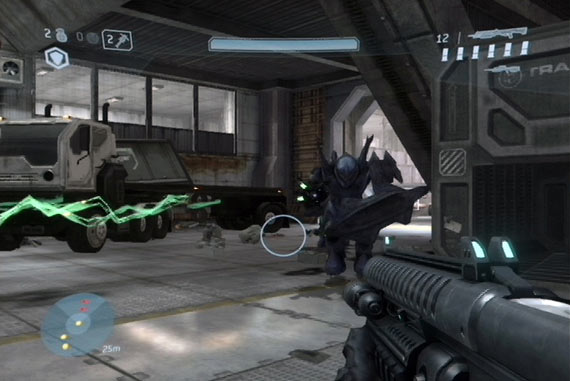 Make your way past the Brutes, allowing the Arbiter to do most of the work if need be. Eventually you'll come to a door where a lot of workers are milling about; you'll face two Hunters after they enter. Pick up the shotgun near the dead body in your path; it's one of the few times you'll find it useful during the campaign. If you start firing away at the Hunters, though, you'll be quite frustrated; what you need to do is get close to the Hunters, let them take a melee swing at you while you strafe around them, then tag them in the middle of the back with the shotgun. It's not difficult, but with two of them coming at you you may get killed a few times. Just keep in mind that their back is their weak spot; you should be able to see the fleshy color of the area when you get behind them. Each Hunter will only take a couple of blasts from the shotgun before dying, luckily. With the Hunters dead, head up the steps to the left of the door and watch the carnage unfold through the window as a Brute chieftan with a gravity hammer goes after the Arbiter when he heads through the door. The Arbiter will probably take him out, letting you grab the hammer if you wish to use it. You will want to grab the sniper rifle in these rooms, no matter what you do. The CannonWith the sniper rifle in hand, use your other weapon to clear the factory of Jackals and Drones. Eventually you'll come into sight of the anti-air cannon itself. Walk forward and be sure that the Arbiter is on pace with you. If he gets stuck manning a turret, head back, take it over, and rip it out.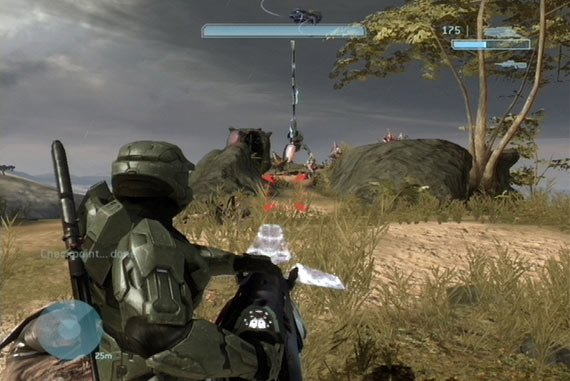 There are numerous Brutes and Grunts in between you and the gun, but if you have a turret in your hands you should be able to make quick work of most of them. Be careful, though, as one of the Brutes has a fuel rod gun. When the defenders are dead, look up at the base of the gun. Every time it fires, it exposes its core. When the white ball is shootable, hit it with explosives or use plasma grenades on it. When it explodes, your mission is over. |