
About This Site
Daily Musings
News
News Archive
Site Resources
Concept Art
Bungie Weekly Updates
Interviews
Movies
Music
Miscellaneous
Mailbag
HBO PAL
Game Fun
The Halo Story
Tips and Tricks
Fan Creations
Wallpaper
Misc. Art
Fan Fiction
Comics
Logos
Banners
Press Coverage
Halo Reviews
Halo 2 Previews
Press Scans
Community
HBO Forum
Clan HBO Forum
ARG Forum
Links
Admin
Submissions
Uploads
Contact
RSS 2.0
![]()
The CovenantTridentDeactivate First Barrier TowerIt's time to bring the fight back to Truth, hopefully before he manages to fire the rings. After your rough landing, examine the new weapon you have: the Spartan Laser. If you hold down the firing button, you'll launch a railgun-esque beam of light where you're aiming. It's incredibly powerful and can hit distant foes, but you only have five shots with it, so don't use it on anything that you can kill easily with your battle rifle. As you move forward, use it to take out the two turrets that watch over your position. There's also a Brute chieftan that possesses a fuel rod gun near the Wraith; if you can get a clean shot, use it on him as well. Don't use the laser on the Wraith itself, though; it's more important to save your ammo for the next tough fight.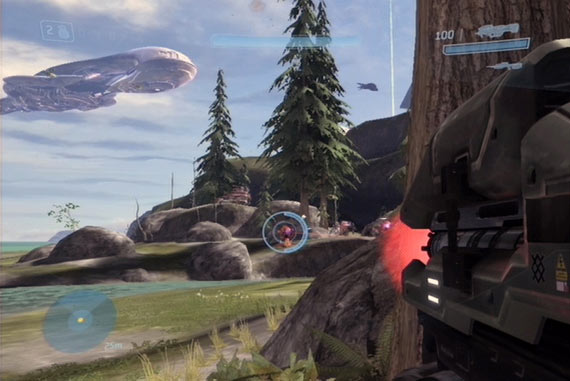 So, after destroying the Wraith with a grenade, you should have a couple shots left on the Spartan Laser when you hop into the Warthog and start driving. Avoid the Banshees and start heading up the nearby hill. A couple of Ghosts will attack you here, so fishtail around them and let your gunner take them out, then move to a position where the gunner can fire on the turret on the path and destroy it as well; it's still not time to use those Spartan Laser shots. Head up the path until you find the two Grunts heading towards their Ghosts. Let the gunner kill them, if possible, then hop out of the Warthog and pull out your Laser. If you look down into the valley, you should spot a Wraith moving into position. On Heroic, a couple of rounds from your Laser will destroy it, and it's definitely what you want to take out here, because otherwise it will be very difficult to take out. If you have extra ammo, use it on the turret to your left, then hop back into the Warthog and move on. You can switch your empty Laser out for a beam rifle at the container here if you like. Breaching The TowerAs you move into the valley, a number of Grunts and Brutes will appear from a hidden tunnel and start pelting you. If you managed to take out the Wraith and the turret, then bully for you; otherwise you're going to have problems here. (It may be simpler to just restart the mission and try to conserve more Laser ammo if that's the situation you're in, and maybe also pick up the dropped fuel rod gun from the Brute chieftan.)Anyway, to avoid the bulk of the crowd, rush your Warthog down the hill, through the lake, and into the small glen on the other side of the bunker here, parking it atop the low rise near the cliff wall, then hop out. Any vehicles that want to get to you will have to come around the bunker to do so, where your gunner will be able to toast them. With that done, grab a beam rifle from the dispensary and try to aim down the tunnel here; you should be able to kill numerous Grunts, Jackals, and a Brute or two. When you've cleared the place out, you can return back to the entrance of the tunnel and try to snipe out the gunner on the turret inside to clear your passage. 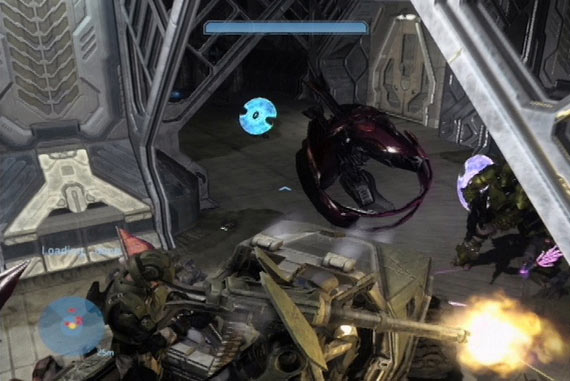 Alternately, if you're a good shot, you can use the Warthog to move down into the lakebed until the vehicles start coming in, then return to the beam rifle dispensary atop the hill and use those to snipe out the drivers and gunners. It'll be difficult to do so, but if you can clear out the vehicles, you can chuck a few grenades into the tunnel, then ram your Warthog down the middle of it to take out the turret. Into The TowerWhen you clear the tunnel, you can head into the tower. As you might expect, there are plenty of enemies inside, so start clearing out the first room and making your way deeper inside. You'll eventually come to an elevator; you can find another Forerunner terminal by jumping across the gap beyond it. Before riding the elevator, you may want to backtrack a bit and nab one of the Jackal's carbines.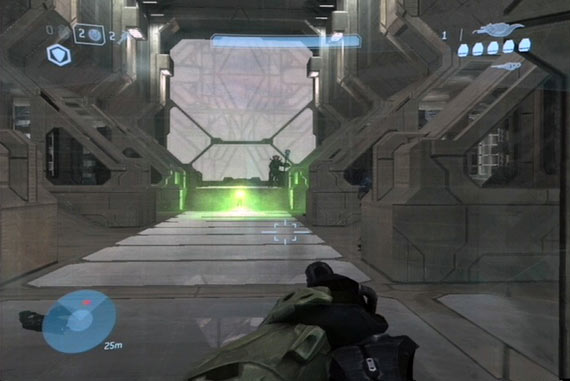 When you ride the elevator up, a Brute chieftan and assorted squadlings will block your path to the control terminal. If you nabbed a carbine, you can duck behind the cover near the elevator, then strafe out and fire at the commander's head to hopefully kill him before he can use invulnerability. With that done, finish the Brutes and flip the switch. Deactivate Final Barrier TowerHead back down the elevator and start fighting your way backwards. When you reach the exit to the tower, find a vehicle and head back to the beach, where you'll find a Hornet waiting for you. The Hornet is the USNC equivalent to the Banshee. It's got a rapid-fire machine gun and homing missiles you can fire with the left trigger. You move around with the left stick, as normal, but you can control your height by moving the right stick up and down. You'll get used to it; you'll have to, or the Banshees here will take you out.If You Want It Done Right...Start climbing upwards here and engage the Banshees. You should be fine so long as none of them get behind you; it can be tough to tell when they're firing their blue lasers at you if you can't spot them. Just fire away with your missiles, and most of them should go down easily.Clearing A Landing ZoneMove on from the second tower, blasting Banshees and the anti-air Wraith. When you reach the third tower, you'll have to deal with multiple anti-air Wraiths and turrets; you need to kill them before your friendly Pelicans can land. You're nimble enough in your Hornet to dodge most of the incoming fire; just keep pressing that missile button while you aim at your enemies, and they'll go down quickly enough.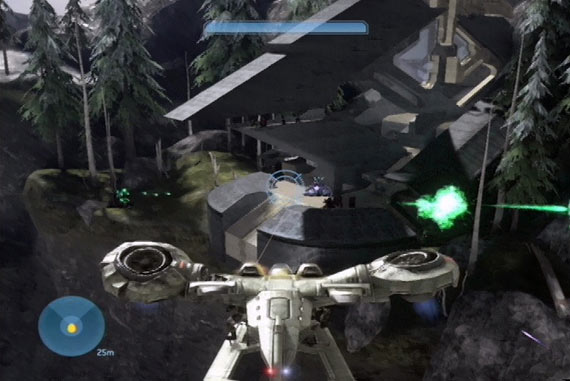 After the landing zones are clear, take out remaining foes, then land and head in with the rest of the Elites. There'll be a horde of Drones, and a couple of Hunters, to block your progress. Take out the Hunters as best you can, or simply turn them around so that the Elites can fire at their backs. There's another terminal across from the elevator. Only you can ride the Elevator; the Arbiter demurs. Upstairs, you'll find more of the cloaked Brutes and friends. Kill them all and flip the switch on the elevator. Breach The CitadelEscape! The Flood have landed and will be pressing you as soon as you deactivate the tower. Shoot your way past the first bunch of them, then use the elevator to get downstairs. There'll be a Warthog waiting for you, but pause a moment, and a Scorpion will fall from a Pelican. Hop aboard.Journey's EndThe Scorpion's path will have some challenges in it, including a couple of fuel rod gun-wielding Brutes and a Wraith near the end. Proceed slowly but surely, though, and you should be able to reach the Hornets at the end of the trail in a couple of minutes.Don't bother flying a Hornet; just hop onto the passenger slot and let the driver take you up. There'll be two Scarabs that pop into being as you take off, and if you're in the driver's seat of a Hornet, it'll fly directly over on top of one of the Scarabs, letting you pop off, drop down, and take it out. 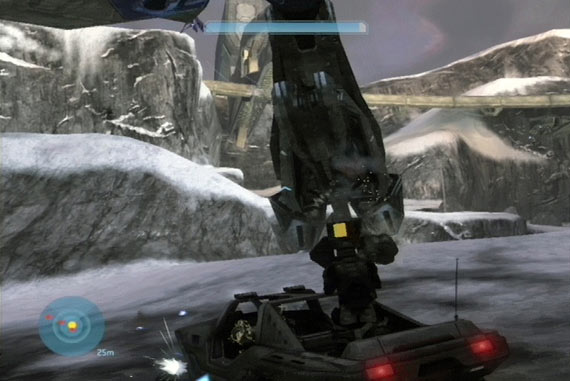 The second Scarab will be more difficult to take down on your own; luckily, a railgun-equipped Warthog will continuously spawn here. If you can track it down, hop into the driver's seat and move around so that you can fire away at the legs. Or, alternately, you can try to find one of the small hills near each of the Scarabs and use them as ramps to jump the entire vehicle onto the Scarab itself, allowing you to dismount and clear your path to the power core. When both of the Scarabs are dead, the Arbiter will land on the structure here. Join him, and Spark will create a path to the Citadel. Stop Truth From Firing The RingsWhen the cutscene ends after you head into the Citadel, head forward with the Flood as your helpers. Strange bedfellows, indeed. Move forward along the path, hiding from the fuel rod gun blasts, and letting the Flood take care of most of the enemies. Grenade the fuel rodders to take them down. After one more section of this madness, you'll reach Truth and prevent him from firing the rings.Escape The Flood!Bedfellows, eh? Not so fast. After helping you prevent the Halo rings from firing, the Gravemind will turn on you, forcing you to fight your way back to the elevator through the Flood drones. You'll have the Arbiter along with you, though, so it won't be too difficult. Just rush through them as best you can; when you get to the middle section, the Sentinels will appear to help you, as well. Get back to the elevator and find the purple shaft leading downwards; drop there to end the mission. |