
About This Site
Daily Musings
News
News Archive
Site Resources
Concept Art
Bungie Weekly Updates
Interviews
Movies
Music
Miscellaneous
Mailbag
HBO PAL
Game Fun
The Halo Story
Tips and Tricks
Fan Creations
Wallpaper
Misc. Art
Fan Fiction
Comics
Logos
Banners
Press Coverage
Halo Reviews
Halo 2 Previews
Press Scans
Community
HBO Forum
Clan HBO Forum
ARG Forum
Links
Admin
Submissions
Uploads
Contact
RSS 2.0
![]()
The ArkThe portal that the Ark opens leads you to another Halo ring, but this one appears to have some kind of special device attached to it. You'll have to land on the surface and attempt to find whatever it was that Cortana thinks can save the Earth.The seven terminals that must be found to unlock the Wayfarer achievement begin to be found on this level. Eliminate Hostile Anti-Air UnitsYou start this mission with a good combo for the task at hand: a sniper rifle and a battle rifle. Follow the soldiers here to the enemy emplacement nearby. When you're in position, bust out the sniper rifle and go to town on the Brutes below, letting your teammates worry about the Grunts. There's a sniper rifle in a container near you, so you'll have plenty of backup ammo.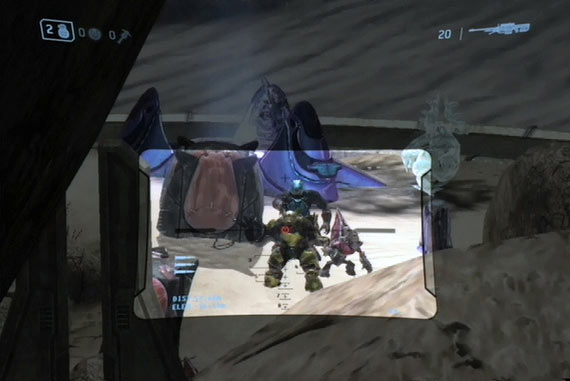 When the enemies here are cleared out, head through the tunnel to the anti-air battery. Lots more Brutes here, so save your sniper rifle ammo for them. You'll need to clear most of the enemies here out before you can cause a Hunter pair to drop. When they're on the ground, hop down and get close to them. If you can cause them to turn their backs to your fellow soldiers, then they'll be able to fire away at the weak spots. Otherwise, Brute grenades work well on these guys, as does plain old shooting them in the back yourself; the sniper rifle will do a lot of damage if you can get a quick hit with it. The Forerunner BaseAfter defeating the Hunters and the Brute squad on the ridge above you, head into the Forerunner base. (If you're having problems with the Hunters, just ignore them and move up the ridge behind the anti-air unit.) To your left is a room containing an artifact; some kind of archive terminal. Read the information and proceed to the next page with the A button. If you wait a few moments (or perhaps click the LB button), you will be shunted to some personal communications between the Librarian and his mate. This is the first of the seven terminals in the game.On the far side of the Forerunner building, you'll come to some more Marines. Switch to your sniper rifle here and take out the Brute chieftan in the sands below, then make your way to the crashed pelican and trade out the sniper rifle for the rocket launcher there. 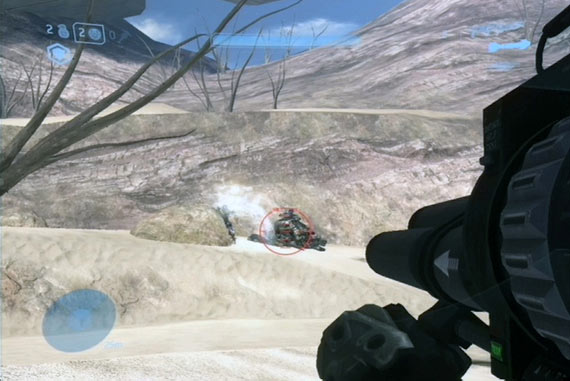 Light APC vehicles called Prowlers will approach you here, each carrying numerous Brutes. Beat them up as best as you can with the rocket launcher, but you might want to try and keep one alive by shooting out the turret gunners as people hop into it. (The first Prowler may actually have all of its inhabitants pop out after it parks, so you may want to leave it alone.) If you do, then the rest of your squadmates will be able to hop into it and use it when you manage to reach the Mongooses. Otherwise, the simplest way to kill them is to wait at the bottom of one of the hills as they crest them on the approach and fire the rockets at their underbellies just before they run you down. That'll eliminate all the soldiers and hopefully keep one of the Prowlers alive. Into The VehiclesWhen you do manage to clear out the Brutes, nab a Mongoose and take off. You're going to be facing some tough vehicle fights here, so hopefully one of the Prowlers from before survived; they do a good job of killing the enemies out of the Ghosts and Choppers here while leaving the vehicles intact, if heavily damaged. If you can switch to a Chopper, you may wish to do so, as they can take a lot of damage, even if they seem like they're on the verge of collapse, and will let you fire at distant enemies with their cannons.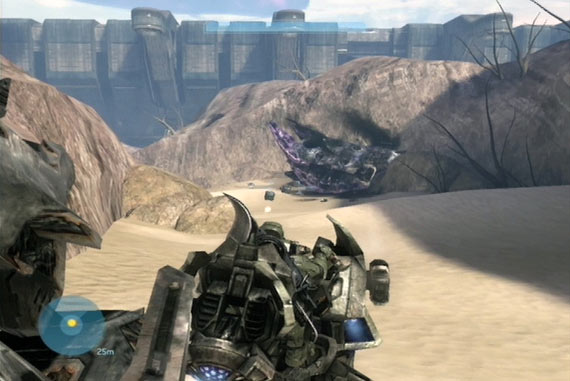 Keep moving along the ridgeline until you pass a crashed Pelican and Phantom, then come to a jump. Proceed down to the left and start destroying the enemy Choppers here; there's a fresh, unmanned Chopper near the entrance to this area that you can use. With them out of the way, take out the turrets on the structure above the ground, then try to get up there to see what the heck is going on. Be careful, as some of the Grunts at the barricade will have fuel rod guns. Kill them and take their weapons, then make sure that all of the enemies at the turrets are dead. That'll cause Johnson to spawn in a Pelican. Hop into a fresh Chopper (there should be yet another one near the turrets on the bridge upstairs) and follow Johnson down the nearby sandy corridor. Onto the AAHead past the bridge and up the sandy ramp beyond. A couple of Ghosts will come your way; take them out, then exit your vehicle and take out the nearby Jackals manually. A Brute nearby has a fuel rod gun, and stands near another fresh Chopper. Kill him and nab the fresh Chopper and move on. When you get through the tunnel, stop! Hang back inside the tunnel and fire away at the Wraith beyond. It'll fire back at you, but if you're lucky, the rounds will hit the top of the cave and not damage you. When it's dead, fire on the Brutes that cross the bridge below you, then hop out of the Chopper and scope out the opposition. There's a couple of turrets near where the Wraith was, as well as a couple of sniper towers that can be destroyed with Chopper fire. Proceed forward slowly and kill everything, being mindful of new Ghosts that will be coming your way. When that's done, head forward a bit and take out the anti-air Wraiths, being mindful of the large number of Brutes nearby. A few of them will be using fuel rod guns, so be careful when moving around in this area, and keep in mind that the anti-air Wraiths will fire on you if you rile them up enough. Forward Unto DawnLead Friendly Armor Through The WallMount up into one of the Scorpion tanks that drop from the frigate and start backtracking; you have to head all the way back to where you originally dropped from the wall on your Chopper or Mongoose. Proceed slowly and use your main cannon to blast your foes from a mile away; you outdistance them greatly in terms of firing range, so take them out before they can fire on you.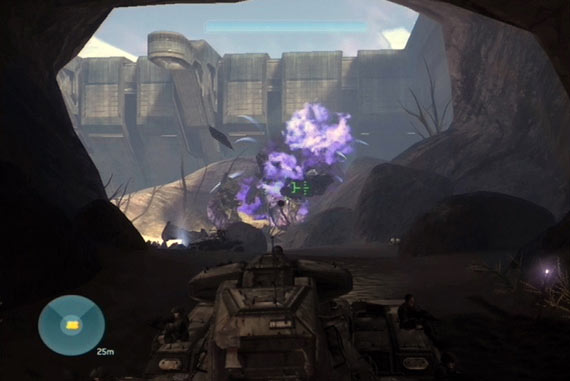 When you reach your destination, you'll have to deal with more Wraiths. You move fairly slowly, so it'll be easy for them to hit you if you stand still; just keep moving and fire on them from a mile away. A Phantom will drop a fourth Wraith near the door that you have to enter, so take it out, as well as the Phantom, if you can, then head around to the doorway that Spark opens up. You'll have to abandon your vehicle to head inside. When you head inside the base here, head up the ramp to find a new piece of equipment, the Auto Turret, and a sentinel beam weapon. Grab them if you wish. Head on from there to extend the bridge. The second terminal can be found directly behind the bridge controls after you activate them. move out onto the terraces that lead down to the Cartographer. Locate The CartographerA Warthog will appear nearby with a railgun mount in the back. Hop into the driver's seat and start making your way down the hill. The railgun can take out almost any vehicle in just a couple of shots, so let your gunner do the hard work here while you zoom around, avoiding enemy fire. Do your best to stay healthy, as there's a bit of a fight at the bottom of this hill.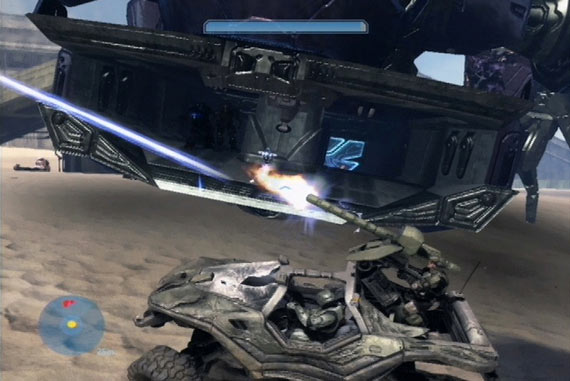 When you reach the bottom of the set of terraces, the Scarab will reappear, along with a few Choppers. Take down the choppers while keeping the large bunker here between you and the Scarab. When that's done, start making circles around the Scarab's legs until your gunner shoots it in the knees enough to drop it to the ground. That'll let you hop aboard it and start making your way to the power core. If your gunner is dead, or you lost your Warthog, you'll have to wait a bit and attempt to fire on the knees yourself. You can do so with weapons, if you like (there's some fuel rod guns in the bunker), or wait for your Scorpions to do the deed, or hop into a Scorpion and try to aim yourself, but the tanks are slow enough to be sitting ducks to the Scarab's fire, so be careful. When the Scarab is down, make your way up the ramp where all the enemies are located. At the top, you'll come across a cloaked Brute - a foreshadowing of enemies to come. He'll drop a new kind of grenade, which soaks its target in napalm upon hitting. Kill everything and rendezvous with the Arbiter. Real Men Don't Read MapsIn the room with the sleeping Grunts, kill everyone with melee attacks. Note that there's a Brute that pees against a wall; hit him from behind and he should go down in one shot.Make your way downwards here until you find a ramp that terminates near a Grunt walking past some explosive barrels. Check the room underneath the ramp to find the third and final Terminal on this level. Head Downstairs For EvacMove back into the facility and start killing Brutes. Some of them will begin dropping maulers, which are essentially single-handed shotguns. Great for up-close damage, but the spread will make them difficult to use if you're firing on something across a room.If you head downstairs from here, you'll come to a room populated with nothing but stealthed Brutes. These guys are tough to take down, especially since you can't really see them, but when you damage them, they'll become visible. If worst comes to worst, head downstairs to the room with all the Spikers in it, grab a couple, and start firing blindly. Be sure to kill them all before finding the exit on the lower level and moving down. 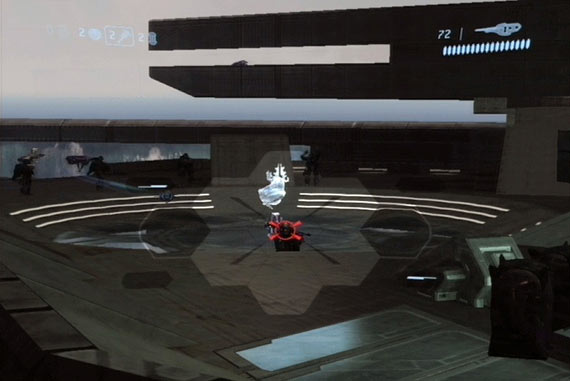 The last level here will feature another convocation of Brutes, including plenty with jetpacks. If you don't have any ranged weaponry, sneak around to the left along the railings to find a box of carbines, then move back a bit, zero in the Brute chieftan, and take him down before worrying about anyone else. The rest of the Brutes can be taken down without too much trouble if you stay inside the guard covers that are protected on three sides; duck out and fire at them a bit, duck back in when they fire their Brute Shots at you, rinse, repeat. After killing all of the Brutes, a Pelican will come for you. Hop aboard to end the mission. |