
About This Site
Daily Musings
News
News Archive
Site Resources
Concept Art
Bungie Weekly Updates
Interviews
Movies
Music
Miscellaneous
Mailbag
HBO PAL
Game Fun
The Halo Story
Tips and Tricks
Fan Creations
Wallpaper
Misc. Art
Fan Fiction
Comics
Logos
Banners
Press Coverage
Halo Reviews
Halo 2 Previews
Press Scans
Community
HBO Forum
Clan HBO Forum
ARG Forum
Links
Admin
Submissions
Uploads
Contact
RSS 2.0
![]()
Sierra 117Walk it OffGet to the River for EvacAfter your crash landing, meet up with Sergeant Johnson and the Arbiter, then start heading through the forest. Before long, you'll be told to split up. If you keep the Arbiter's arrow in front of you, you should come across your first prey: a Brute and a squad of Grunts. The Grunts are no match for you, so take them out with your assault rifle, then focus your fire on the Brute to collapse its shielding and armor before finishing it off. Your teammates will do most of the work here, if you let them, allowing you to trade in your pistol for a plasma pistol, or dual-wield for a bit.When you're clear, wait for the enemy Phantoms to arrive, drop off their loads, and take off, then start heading down the river with your crew. More of the Brute/Grunt combos will be in your way. Keep in mind that taking down the Brutes will cause all nearby Grunts to enter panic mode, so it may be worth your while to focus on the Brutes first. If you can find a Brute shot weapon, using its grenades on the Brutes can knock their armor off in a few blows, causing them to enrage and charge you, which will let your squadmates more easily finish them off. After passing through the caves, you'll come out to a large open area, where one of your troopers will call out sleeping enemies. After killing them, escort the Arbiter up to his sniping ridge, where he'll start firing on the enemies below. You can help him, if you wish, but if you're just looking to survive, let him fire away while you jump across the chasm to find a carbine of your very own. Use it to snipe out any remaining enemies (click the right analog stick to zoom and fire), then proceed across the riverbed and up into the hills beyond. 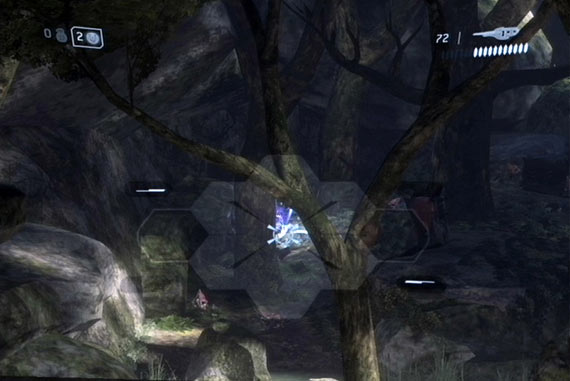 Beyond this section, you'll spot a ferocious Brute interrogating a soldier. Hit the Brute with all the ammo that you can before he kills the marine; you don't seem to be able to hurt him while he's holding the soldier, but if you deal enough damage, he'll instantly die after completing the scene, letting you finish off his compatriots and move on. Charlie FoxtrotYou can find your first battle rifle to the left of the exit from the cave just after starting this subsection of the level. Nab it to replace your carbine, if needed, then move down to the riverbed. Wait for the Phantom to appear and fly away, then drop down to the river, using your battle rifle to take out the jackal snipers on the far side of the river, in the trees.Find Johnson's Crashed PelicanAssaulting the dam here can be tough, due to the large number of Brutes and jackals that appear. One of the soldiers that was killed by the Phantom was manning a machinegun turret, which you can rip from its moorings and carry around for a free 200-round magazine. It, like the plasma turrets, slows you down and suffers from a lot of recoil, but you'll still be able to chew through your foes without too much of a problem. Nab the turret and hug the left side of the cliff wall to find a path leading up which will allow you to flank the Grunts and Brutes as the Arbiter takes a more direct approach. If you can find one, a needler also works quite well on the Brutes here.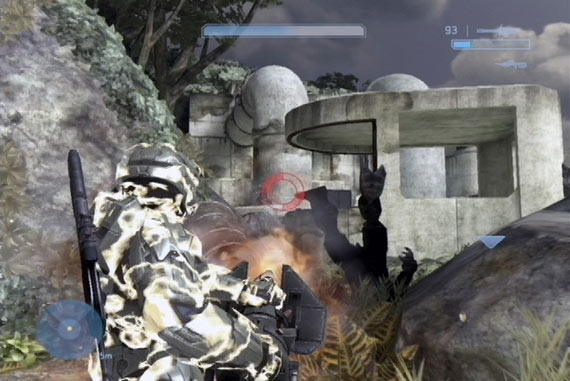 Clear the area out and move beyond the dam to reach a sniper's canyon. Numerous jackals will appear on the cliffs wielding beam rifles and carbines. It'll be difficult to proceed through here unless you have a long-distance weapon like a carbine or a battle rifle, so backtrack if you need to and find one. When you're properly armed, proceed slowly through the canyon, marking positions of your foes and attempting to snipe them before they spot you after moving behind cover. On Heroic difficulty, you can be killed almost instantly by a jackal with a beam rifle - it only takes two shots - so be on your guard. If you can find a beam rifle here, feel free to pick it up and use it in the next section of the jungle. Find Johnson Before He's CapturedYou'll eventually come to a large-scale firefight between the marines and the Covenent. Snipe the jackal who's stationed well across the canyon here, then start blasting the Brutes and Grunts in the valley below you. When you're ready to do so, drop down and begin proceeding along the valley area, but keep in mind that there are multiple snipers above you. Clear out the Brutes and Grunts, but don't forget to watch for jackals on the cliffsides.When you find the ramp upwards, you can examine the wreck of Johnson's Pelican. There'll be a couple of sniper rifles here, which will give you 24 sniper shots if you nab both of them, which you definitely should. Kill the last squad of enemies between you and the cave leading on, then head through. Quid Pro QuoRescue Johnson and his MenJohnson has been captured by Brutes, and they're keeping him in a secure room above a large dam. After you get the mission assignment, whip out your sniper rifle and begin picking off your foes from the perch that you're on. Focus on the jackals first; they're spread out around the area in different directions and at different heights. Zoom out with your rifle and try to find them and pick them off before worrying about the Brutes, but if you see a Brute crossing the bridge and can get a clean shot off, it might be worth doing so.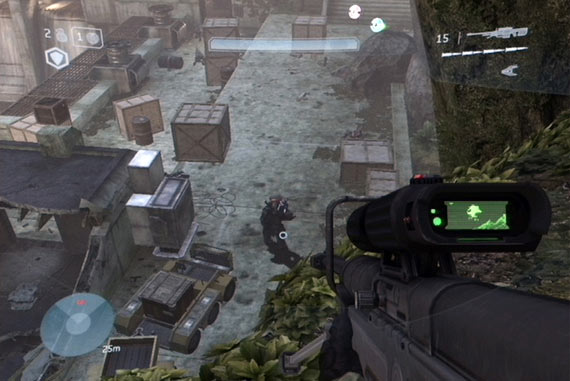 If you manage to sit up top and clear out most of the snipers, then you should be facing a number of Brutes and Grunts in the buildings below you. Some of these fellows will wait for you to hit the bridge, but some will be pretty brazen about approaching you and firing at you from below. Feel free to snipe away at anyone that you spot. If you're lucky, the Brute chieftan will appear in his yellow armor, wielding a gravity hammer. He can't attack at range with the hammer, meaning that you can unload on him until his armor turns white. He's invulnerable at this point, so leave him be and fire at him again when the armor returns to normal. If he drops the gravity hammer, you can use it on the miscellaneous Grunts and Brutes in the area and get some easy kills. If he doesn't appear, though, don't worry about it. Make your way to the bridge. There should be a substantial number of enemies here to deal with. If you think you can take them down, feel free to attack them, but if the numbers are too much (or if the commander is here), then you should drop down to the underportion of the bridge and cross through via that passage. One of the benefits of this latter path is that it's open to the side, allowing you to snipe on the reinforcements as they drop down on the other side of the river, near where Johnson is being held captive. 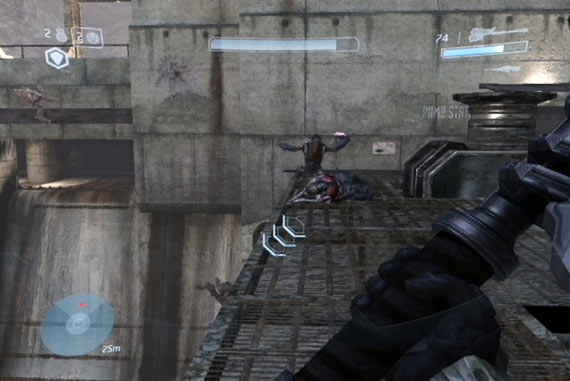 Anyway, pass along underneath the bridge and let the Arbiter clear a path up top. He can't be killed, only stunned; even if he gets taken out, he'll eventually pop up and continue on his killing spree. He'll catch up to you eventually, so stay alive and find targets to hit. When he reaches the far side of the bridge, pop up and make your way to Johnson's little hut and use the RB button to drop the plasma shield that keeps him and his crew imprisoned. Stay Alive! Pelican Inbound!After Johnson and his men rearm themselves, stay inside the hut for a few minutes and fire away at the enemies as they arrive. The Arbiter will do most of the hard work here, meaning that all you have to do is stay alive until the Pelican arrives.When it does come down, you can head towards it if you like, but first you should find the Iron Skull. These skulls are optional pickups, but they'll let you change the rules of the campaign the next time you play. To find it, head to the Pelican, but look to the left of it (if you're looking at the back of the Pelican), then hop up on the walkway there. You should see a large block in front of you that you can jump to. Jump onto it, then hop up onto the walkway that one of the jackals was using as a sniping roost before. Walk all the way to the end of it and tap RB to grab the skull. This is one of nine skulls that will grant you achievement points for finding it. |