
About This Site
Daily Musings
News
News Archive
Site Resources
Concept Art
Bungie Weekly Updates
Interviews
Movies
Music
Miscellaneous
Mailbag
HBO PAL
Game Fun
The Halo Story
Tips and Tricks
Fan Creations
Wallpaper
Misc. Art
Fan Fiction
Comics
Logos
Banners
Press Coverage
Halo Reviews
Halo 2 Previews
Press Scans
Community
HBO Forum
Clan HBO Forum
ARG Forum
Links
Admin
Submissions
Uploads
Contact
RSS 2.0
![]()
HaloFull CircleFind The Control RoomYou and the Arbiter need to get inside the Halo ring's control room, fire it, and destroy it. Unfortunately for you, the Gravemind doesn't want to be destroyed, and he'll make his wishes quite clear. Note that there are a lot of weapons near the Pelican here; if you don't have anything decent at range, nab a battle rifle.Fight The Flood When you reach the open field in front of the citadel, the Flood will begin landing in drop pods. Stay back near the exit from the cave that you just passed through, and try to use your weapons to lure these guys back to you and the Arbiter so that your friend can finish them off and explode their bodies. If you rush forward, lots more drop pods will appear and you'll likely be overwhelmed. There is a fuel rod gun behind a hill near the cave exit that might help you out with the crowds here, but if you pull from a distance, the Arbiter will be able to take on most of the foes. You'll need to head around to the right side of the installation here; proceed slowly, triggering a few pods at a time, destroying the inhabitants, and moving on. You won't need to worry about destroying bodies until you reach the base of the installation, where changelings will appear. Luckily, by then you'll have Sentinels and Johnson overlooking your progress. Proceed slowly, again, and if you get overwhelmed by enemy numbers, drop down to a lower level of the facility and let your friends take out the enemies. Open The Door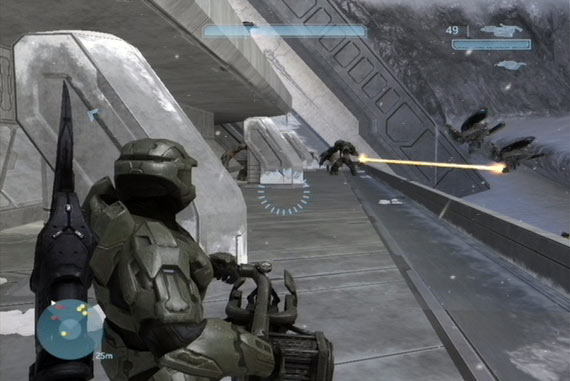 When you reach the door leading into the facility, you'll need to set up a defensive perimeter and defeat all of the Flood that comes your way. Nab the two autoturrets by the door and set them up on the small walkways a bit away from the door so that they're up off the ground and won't be easily attacked. They're not essential to the fight, but they're nice to have. You can also find an Invincibility power on the far side of the upper platform. You'll need to survive for a few minutes in order to open the door, and it can be tough due to the number of foes you'll face. Dual plasma pistols work well for setting up a sustainable amount of fire, while the Arbiter and the Sentinels will help you out as well. If the going gets heavy, try jumping off the platform to a lower walkway and hiding underneath the overhang. We've actually had this cause the fight to shortcircuit and eliminate much of the fighting, bumping us directly to the sequence where the door is opened. Kill The Monitor, Activate HaloWhen the door's opened, head inside for a cutscene. You'll need to wipe the floor with Guilty Spark. We couldn't stand that wannabe C-3PO anyway.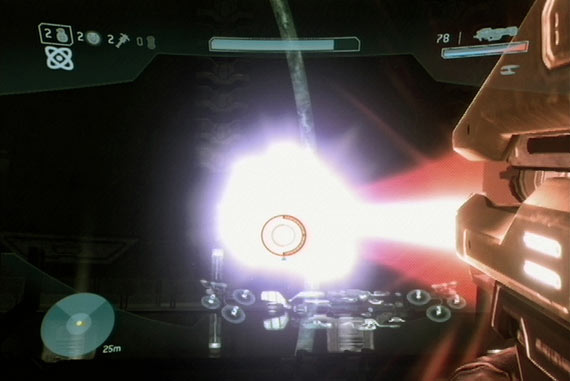 Initially, there isn't much you can do to hurt Spark; fire away at him all you like, though, and be sure to avoid his laser blasts. Eventually Johnson will stir and hit him from behind with the Spartan laser. While Spark is recovering, take the Spartan from his hands, and use that to finish off the Monitor. The Spartan has unlimited ammo, but it'll only take three shots to kill the beast. The Way The World EndsGet To The FrigateYou've got a lengthy fight to get out of dodge. Escape the facility here, then hang an immediate right and climb the ice up to the ridge that towers over the facility. Follow it, killing off the sentinals and zombies, until you reach another part of the facility. Bust through there (the sentinal beam is handy against the Flood, especially the parasites), and you'll reach Johnson's Warthog.At this point, you're basically home free. Anyone who played the first Halo will know the drill: Halo ring exploding, need to escape, lengthy vehicle session with lots of restarts, coming right up! 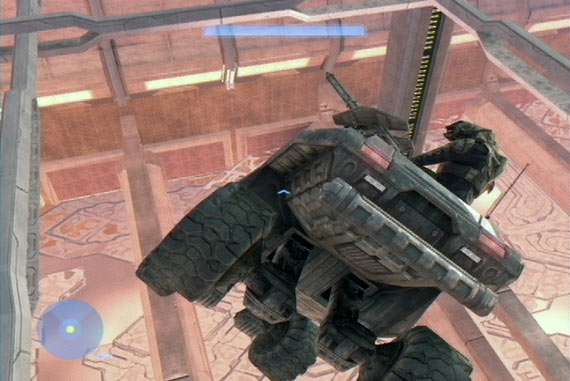 There are three main challenges here that you need to traverse, with the worst being the panelled sections of the path. You need to guide your Warthog over these as the panels blast upwards around you. It's difficult to gauge the stability of a path before you hit it. These sections will require a lot of restarts. There are going to be plenty of enemies here, with the worst being the Sentinels. They don't do much damage to you, but their lasers can impart some momentum to your vehicle, especially in midair. Try not to take any huge leaps while around the Sentinels, or they'll zap you and make your vehicle spin around. It can be fun, but it can also be really damn annoying. Apart from the panel segments, you'll also have to deal with tunnels that feature enemies arrayed in front of you. Run them down, avoid the debris falling from the ceiling, and you should be able to make it out without a problem. Lastly, there are some more-secure sections of the facility with red stripes to show you where to go. These are generally pretty easy, but beware of zombies jumping onto your Warthog and hitting you; you'll probably need to get out and shoot them if this occurs. Eventually you'll reach the frigate, and the end of the game. |