
About This Site
Daily Musings
News
News Archive
Site Resources
Concept Art
Bungie Weekly Updates
Interviews
Movies
Music
Miscellaneous
Mailbag
HBO PAL
Game Fun
The Halo Story
Tips and Tricks
Fan Creations
Wallpaper
Misc. Art
Fan Fiction
Comics
Logos
Banners
Press Coverage
Halo Reviews
Halo 2 Previews
Press Scans
Community
HBO Forum
Clan HBO Forum
ARG Forum
Links
Admin
Submissions
Uploads
Contact
RSS 2.0
![]()
Crow's NestKnow your RoleSecure Perimeter DefensesHead down the steps here and arm yourself at the weapons shelves, then proceed onward until you reach a closed door. You can open these by finding the switch and pressing the RB button.Neutralize Hostiles In The HangarStart making your way to the hangar. After you reach the spot where a Warthog gets destroyed, turn to your left and chuck grenades into the crowd of Grunts there to kill most of them.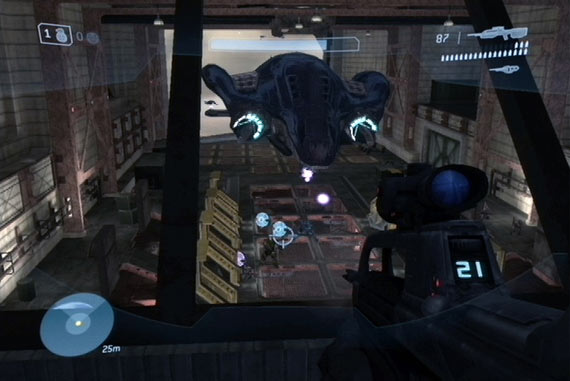 Fight your way from here to the hanger, and load up on ammo for your battle rifle on the way; pairing it with a carbine wouldn't be such a bad idea. When you reach the hangar, you'll have to fight off a few waves of enemies that will be arriving on Phantoms. If you're playing on a low level of difficulty, you can nab one of the turrets and use those to pelt the enemies as they arrive, but on Heroic or above, you'll need to be a bit more cagey, since there'll be a lot of Brutes coming your way. You can find your way up to the top of the room via the staircases; if you stay in the control room up there, you can snipe away at enemies below you. The brutes will be tough to kill, so you may want to wind up sneaking down, tearing a turret off of its moorings, and using that to finish them off. If you want to engage them in close quarters, try running down to the underbelly of the hangar bay and hope that they follow you. Get back to the Ops CenterWhen all the waves are done for, start making your way back to the ops center. In order to get there, start by heading back through the small vehicle path and finding the open doorways that are available to you. If you can find needler ammo here, grab it and save it. You'll need it in a bit.Eventually you'll run into a swarm of Drones. These guys are annoying to kill since they swing through the air and move erratically, making them difficult to hit. If you have a needler, feel free to use that on them; otherwise, you may want to try using an assault rifle or submachinegun. Try to get to the side of the swarm and flank them to make them easier to attack. If you're having real difficulty, you should be able to just wait for the soldiers here to finish off the enemies. Gift with a PurchaseRescue Marines In The BarracksHead to the ops center and take a gander at the present that you'll be leaving the brutes. With that done, follow the door at the top of the room onward to start your quest to reach the barracks. Be sure you have plenty of ammo for your weapons before proceeding through; we used a needler and a battle rifle for the next fight.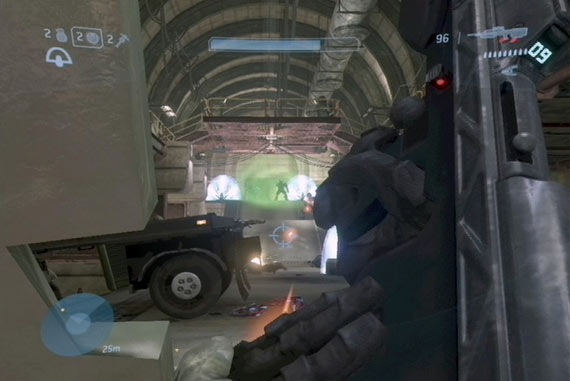 When you enter the next corridor, you'll find a group of Brutes that are guarding the high ground. There are perhaps a dozen of them all told, including a gravity hammer-wielding chieftan, and you'll need to take them all out in order to proceed. Step up to the shield in front of you and use it as cover when you open your attack. If you have a battle rifle, you can use that to nab headshots on the distant foes (starting with the chieftan), then switch to your needler or something similar when your enemies get closer to you. It'll take a bit of time to wade through them all, so use grenades when they clump together. If you find yourself running low on ammo, duck off to the side of one of the walls here to grab some cover; that should cause some of the Brutes to come after you, letting you kill them at close range and steal their weapons. There are also a couple of weapon racks in the middle-right section of the room, in one of the parking areas. After killing all of the brutes here, find any ammo or grenades that you can, then move on and drop down to reach a corridor with some Drones inside. You can ignore them, most likely, and simply run onward until you meet the Arbiter. Into the BarracksYou'll soon reach the barracks. If you picked up the gravity hammer from the last fight with the Brutes, feel free to charge forward and use it on your foes, if you like. If you prefer a sneaky approach, you can climb one of the ladders leading up to the second floor, then climb up into the ductwork above these corridors. When you reach the last exit from the ductwork, you can drop down and kill another Brute chieftan below you with the gravity hammer, making short work of him.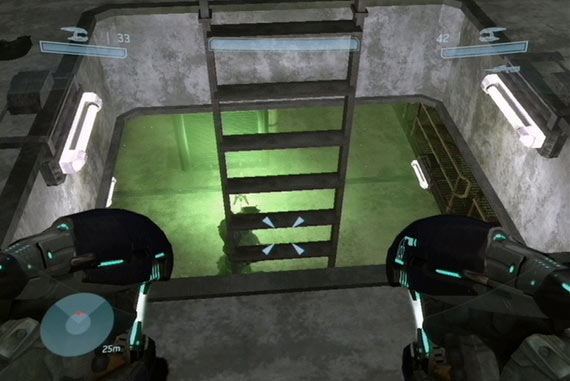 Another few corridors await you here, but you can repeat the process of crawling into the vents in each one, if you like; it'll allow you to fire on and grenade your foes from above while the Arbiter and the troops draw their fire below. Continue your path until you reach the last group of brutes, but be careful: one of them will have a detached plasma turret for firing on you. Evac Via The Landing PadEscort the soldiers out of the barracks to the lift nearby. Ride it up to the landing platform above, where you'll be assaulted by numerous Brutes with jump packs that allow them to jump long distances. Stay back near the exit from the lift here and jump onto one of the boxes nearby to get a view of your opponents and fire from there; if you have a battle rifle or carbine, go for headshots and stay back. If you're willing to take a risk, you can find the open door at the top of the steps leading away from the landing pad and follow it around to the control room, where you'll find some weapons and will be able to snipe at the Brutes.Last One Out, Get The LightsReturn To The Ops Center, Arm The BombWhen the Brutes are finished, you'll have to make your way back to the ops center. Try to pick up a pair of plasma rifles before leaving the landing pad; there are plenty of Jackals and Grunts in your path, and they're easy to take out with those weapons. A battle rifle would be a good weapon to have in reserve.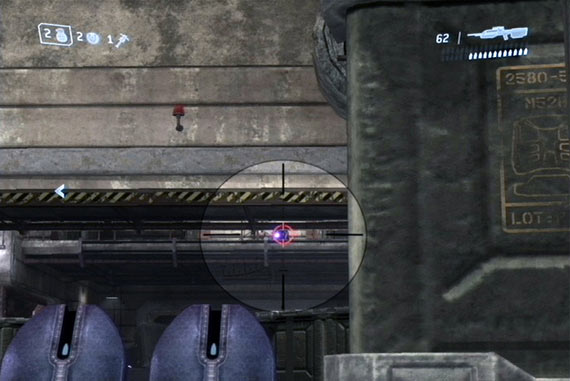 The path to the motor pool is overrun with the aforementioned Grunts and Jackals, and will also be populated with a number of plasma turrets. You can kill the turreteers relatively easily by hitting them with plasma rifle fire, since the shielding on the turrets doesn't protect them very well. Near the end of the corridor, you'll come to the motor pool; watch out for snipers on the upper walkway here. Kill everything that moves, then move to the top walkways where the snipers were to grab beam rifles and other weapons from the armories there. You may also want to grab a plasma turret before heading through the door in the motor pool. When you reach the ops center, it'll be well fortified by Brutes and Grunts. The Brutes are tough, obviously, but they'll go down quickly to a plasma turret. They'll kill you quickly, too, if you let them get clean shots off; beware the Fuel Rod Gun that one of them wields, as it packs quite a punch. Eliminate all the enemies and arm the bomb by pressing RB next to it. Grab the Fuel Rod Gun on the ground and see if it has any ammo; if it has five rounds or so left, pick it up. Escape Via The Elevator In The HangarHead down the stairs and into the cave here. There should be plenty of battle rifle ammo in the corridor before the cave, and inside the cave itself, so use that to make your presence felt. The Grunts here will be too panicked to attack, letting you melee them to death, but there's also a couple of Jackals in the room.Make your way through the cave and into the tunnels beyond it. With that done, you'll have to head down to the hangar, which is overrun with Grunts and Jackals. Nothing to worry too much about; use the Fuel Rod Gun to blast a path to the elevator and head downwards to end the chapter. |