About This Site
Daily Musings
News
News Archive
Site Resources
Concept Art
Bungie Weekly Updates
Interviews
Movies
Music
Miscellaneous
Mailbag
HBO PAL
Game Fun
The Halo Story
Tips and Tricks
Fan Creations
Wallpaper
Misc. Art
Fan Fiction
Comics
Logos
Banners
Press Coverage
Halo Reviews
Halo 2 Previews
Press Scans
Community
HBO Forum
Clan HBO Forum
ARG Forum
Links
Admin
Submissions
Uploads
Contact
RSS 2.0
![]()
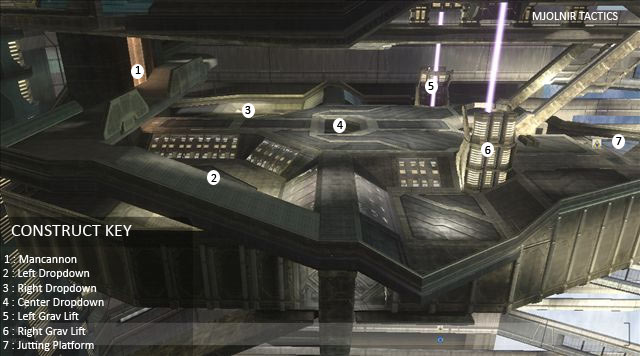
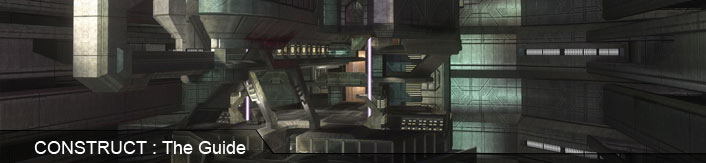 Description: Vast quantities of water and other raw materials are consumed in creating even the smallest orbital installations. Layout A forerunner complex, with an entire open side, showing many extrusions, which is similar to the cartographer building on The Ark. Below is a large ocean. Sentinels and Constructors float out far from the level, but can be destroyed with long range weapons. The level is completely symmetrical, which is multi-leveled. The center is mostly open, while the sides have many floors which are connected by ramps, and 3 gravity lifts which can be entered from at many levels.
FFA Strategies
Heatmap Breakdown
Team Strategies Author: Aurelius67
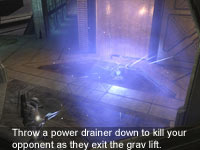
Get a pretty good sniper, have him grab the sniper rifle and a team mate. There is a place you can get to using two people. In between the purple lifts and coming out of the sword room there is a spot that you can get to. To do this, one must stand in one of the corners(by the glass) and the other must jump on his head. Once on his head, the one on the top must jump. While he is in the air, the player on the bottom will jump too. As the top player starts to come down he will hit the bottom player (who is in mid-jump) on the head and immediately jump again. When he does this, he can then easily get on top of the glass wall. Once here, you can jump again and get on a ledge that not many people can find you on. Get a good sniper up there with a BR , somebody with the sword down below, and you are unstoppable. Author: Quickstrike NC
Instead of rushing the bottom from the start, which people have gotten wise to, try going over the top of the center room (If you start near the grav lift). There are a stack of fusion cores just before the purple lift and you can usually get a kill or double from people coming at you along the top as well. Every game I've started in Construct I've gotten at least one kill from the blast and picked off the other guy with lowered shields.
In the beginning of the game if you're the team that is closest to the yellow elavator, try throwing a frag grenade towards the purple elavator on the right, if there are enemies going that way to get the sword then you will automatically kill them from the multiple explosions that you triggered from those power boxes laying in front of the elevator.. This is an easy way to get a step up on the other team and make it to the top first. Espescially useful if the whole team follows one another. |